Difference between revisions of "Junctions"
m |
Cpeosphoros (talk | contribs) |
||
| Line 241: | Line 241: | ||
| 8 | | 8 | ||
| 2 | | 2 | ||
| + | |} | ||
| + | |||
| + | ==Line Balancers== | ||
| + | |||
| + | These junctions allow for trains choosing different lanes on parallel tracking. They are designed not only to balance trains between lanes but also to let other nearby junctions to merge trains to or split from only one side of the parallel tracks, which may lead to simpler versions of those junctions. | ||
| + | |||
| + | The maximum number of trains refers to the number of trains which can '''simultaneously''' use the balancer without much risk of having a train stopped inside. Depending on other aspects of the network, the no-crossing versions may easily handle tracks with dozens to a couple hundred trains. | ||
| + | |||
| + | Ideally, only one balancer should be placed, in each direction, between each pair of other junctions. Having more than one consecutive balancer on the same track may lead to trains trying to change lanes too often and blocking one lane while waiting on the sideway paths' signals for the other lane to clear. | ||
| + | |||
| + | {| class="wikitable" | ||
| + | ! Image | ||
| + | ! Name | ||
| + | ! Information | ||
| + | ! Signalling Complexity | ||
| + | ! Max No. of trains | ||
| + | ! No. of Points | ||
| + | ! No. of Crossings | ||
| + | |- | ||
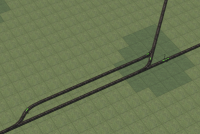
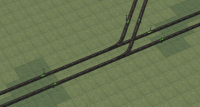
| + | | [[File:Diamond_Balancer.png|200px]] | ||
| + | | Diamond Balancer | ||
| + | | The simplest balancer possible. Ideal for very low traffic tracks. | ||
| + | | Medium | ||
| + | | 1-2 | ||
| + | | 2 | ||
| + | | 1 | ||
| + | |- | ||
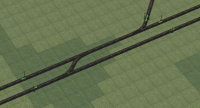
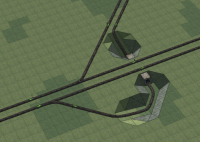
| + | | [[File:Underpass_Balancer1.png|200px]] | ||
| + | | Underpass Balancer v1 | ||
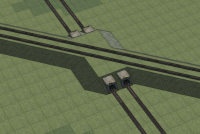
| + | | Having no level crossings, this is ideal for medium to high traffic tracks. Use this version if the lower lane has more incoming trains than the upper one. | ||
| + | | High | ||
| + | | 3-4 | ||
| + | | 2 | ||
| + | | 0 | ||
| + | |- | ||
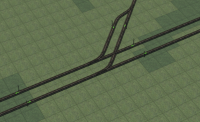
| + | | [[File:Underpass_Balancer2.png|200px]] | ||
| + | | Underpass Balancer v2 | ||
| + | | Same as above, but to be used if the upper lane has more incoming trains than the lower one. | ||
| + | | High | ||
| + | | 3-4 | ||
| + | | 2 | ||
| + | | 0 | ||
|} | |} | ||
Revision as of 23:49, 18 September 2020
Game Manual
- Basics
- Game content
- Infrastructure
 Railways
- Signals
- Junctions
 Roadways
 Airports
 Landscaping
 Electrification
- Vehicles
This section contains a selection of basic junctions that can be used in a railway network in Mashinky. These junctions vary in complexity and utility. The intention of this is to provide fundamental ideas, which can be built upon to create more complex track configurations with higher train capacity.
All the examples below have the basic signaling shown on the images, better signalling positions can improve their performance.
Contents
Y-Junctions
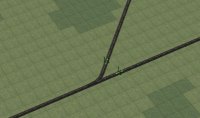
Y-Junctions act as a convergence or divergence points between two routes on a railway line. Simple solutions work well, but tend to have significant drawbacks when used at high capacity.
T-Junctions
These Junctions differ from Y-Junctions as they allow trains from any of the 3 directions to split into either of the 2 other outbound tracks.
X-Crossings
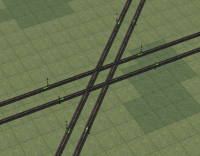
These are for locations on the tracks where two lines must cross over each other, with no tracked connection between the two.
X-Junctions
These are for locations on the tracks where lines cross over and trains can switch between both lines. These junctions are usually complex to build and take a lot of space.
| Image | Name | Information | Signalling Complexity | No. of Points | No. of Crossings |
|---|---|---|---|---|---|
|
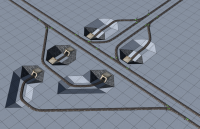
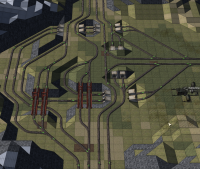
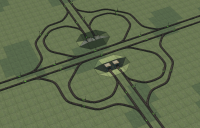
Clover Leaf Interchange | A Line that allows a continuous flow of trains over it. Trains can exit the junction in all 4 directions. This junction takes up a lot of space, reducing its feasibility to large flat maps with long distances between train destinations. | Med | 16 | 0 |
|
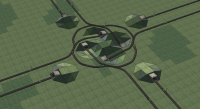
Jewel | A continuous flow junction, which allows trains to exit in all 4 directions. This junction is more compact than the Clover Leaf, however it incorporates more gradients and curves which limits train speeds through the junction. | Low | 8 | 0 |

|
Diamond Crossing | This junction is useful for placing in stations at the end of the line. This junction can be combined with the Main Terminus to prevent train blockages when operating with more trains than the number of available platforms. | High | 4 | 1 |
|
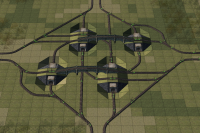
Box Junction | Again a continuous flow junction, which allows trains to exit in all directions. PRO: The track splits before being merged to avoid double use of individual sections. CON: The two long bridges, which each results in a 7-field wide Signal block. | Medium | 16 | 0 |
|
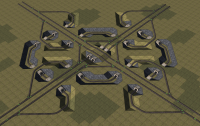
Windmill Junction | Enhanced Version of the Box Junction. PRO: Tracks Split before Merge and shorter bridges to cut the max Block size to a 5-field wide Signal block. CON: Every Train that turns left or crosses the juntion has to climb 2 slopes. | Medium | 16 | 0 |
|
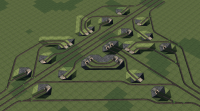
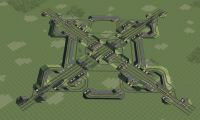
Big Windmill Junction | 4 Line Version of the Windmill Junction. PRO: Tracks Split before Merge. Easy to Bild. Can handle a hugh ammount of Trains. CON: A realy big Junction. Long tunnels lead to 6 field long signal block. | Medium | 12 | 0 |
Terminus Junctions
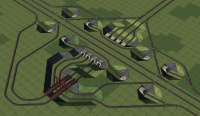
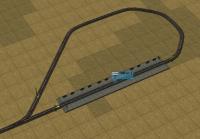
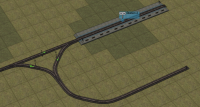
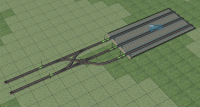
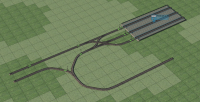
These are a selection of junctions that go at the end of a railway line, these are designed for both high capacity and the ability to turn the trains around to prevent the locomotives from reversing on their return journey. The maximum number of trains refers the number of trains can use the station without a risk of causing a blockage. All stations below can have their capacity increased by placing block signals.
Line Balancers
These junctions allow for trains choosing different lanes on parallel tracking. They are designed not only to balance trains between lanes but also to let other nearby junctions to merge trains to or split from only one side of the parallel tracks, which may lead to simpler versions of those junctions.
The maximum number of trains refers to the number of trains which can simultaneously use the balancer without much risk of having a train stopped inside. Depending on other aspects of the network, the no-crossing versions may easily handle tracks with dozens to a couple hundred trains.
Ideally, only one balancer should be placed, in each direction, between each pair of other junctions. Having more than one consecutive balancer on the same track may lead to trains trying to change lanes too often and blocking one lane while waiting on the sideway paths' signals for the other lane to clear.
