Airports
Game Manual
- Basics
- Game content
- Infrastructure
- Vehicles
With adding of air transport, player needs to build an airport. The airport structure is more complex than the structure of a railway station. You will find some examples of the airports and building strategies on next page.
An old, basic airport unlocks when you reach 3rd epoch of the game. After reaching the 5th epoch, you will unlock new, modern airport. Airports could be upgraded by the same upgrade tool like the railways and roads.
Contents
Airport Objects
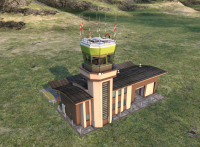
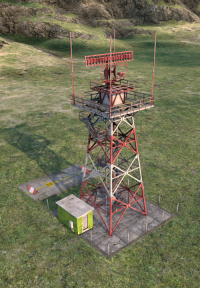
All structures of the airport (except of the hangar) must fit in the total size of 6x6 (or 8x8 with the Control Tower extension).
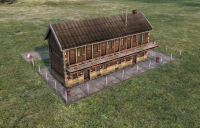
Terminal
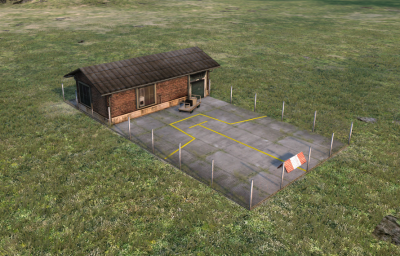
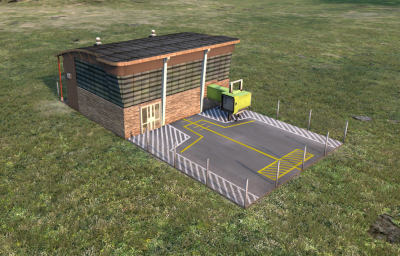
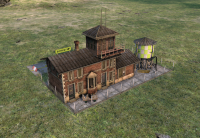
Airport terminal is the place, where the airplanes park and loading/unloading of passengers or cargo occurs.
Terminal is an essential building, no airplane will land on the runway which is not connected to a terminal, unless there is a hangar and the airplane has been sent to a hangar (by clicking "Return to depot" button).
The old terminal costs 1100 ![]() while the modern one costs 2200
while the modern one costs 2200 ![]() .
.
You can build as many terminals as you wish to a limit of the total airport size.
Terminal Extensions
Terminal extensions have the same function as railway station extensions, they cost the same and can be attached to either the terminal or to any other structure of the airport according to your own desire and design.
If you have built pure airport, or if you attach at least one square of airport structure (runway/taxiway) to your existing railway/road station, the below listed extensions will change their graphic appearance to look like the airport extensions. Their function remains identical though.
Pure airports have available only three extensions. If you build combined airport/road/railway station, you will have access to all available extensions, but only these three have graphic airport appearance.
There is one decoration available as well to improve the look of your airports.
Runway
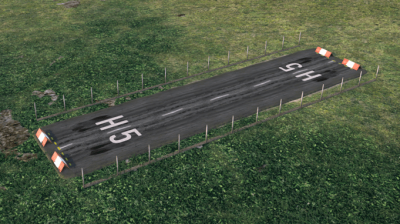
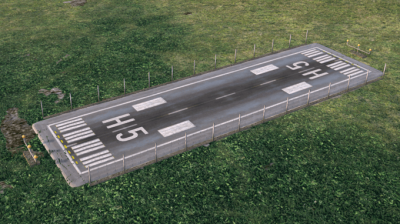
Runway is used for airplanes landing and takeoff and it is second mandatory piece of an airport. Each airport must have runway at least 3 tiles long (some airplanes require longer runway, but the 3 is the absolute minimum) and at least one terminal. Runway is bi-directional and can accommodate always only single airplane.
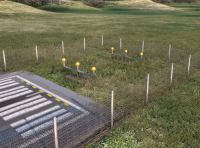
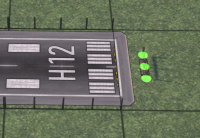
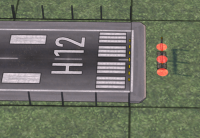
It works in a similar way as railway block signal and you can detect the status of a runway in construction mode by the color of the runway lights. Departing plane blocks the runway at the moment it enters it, while the landing airplane reserves it when it is 4 squares from the airport. If an airplane arrives and (all) runways are occupied, the airplane starts to circle above the airport and checks the status of the runway every time it is in the position (during the circle) from which it can land. Moreover, the arriving airplane checks the availability of the terminal. If all terminals are occupied by other airplanes, it again starts circling the airport until one of the terminals become available.
Each runway has unique designation generated when you place it. You can see it at both ends of the runway. You can use it in your route list to force the airplane to use specific runway rather than any available (assuming your airport has multiple runways of course). When you are entering the route list command - if you click on the terminal building, only the name of the airport appears in the route list and the airplane will use any/first available runway. If you click on specific runway instead, both the runway number and the name of the airport appears in the route list, so the airplane will use only the specified runway.
You can designate landing and takeoff runway by placing proper Taxiway (see below).
Runways cannot cross each other, nor can you place a bridge over them. You can build both railway and road tunnels underneath though.
Runways are not cheap, so be mindful of how many and how long do you really need them. The old runway costs 1000 ![]() per square, while the modern one costs 2000
per square, while the modern one costs 2000 ![]() per square.
per square.
Taxiway
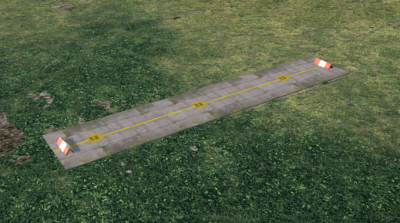
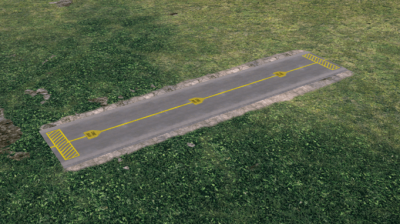
Taxiways are roadways for airplanes within the airport limits, usually connecting runways and terminals. All taxiways are always one way roads, remember it when you are building the road structure of the airport. The direction of the traffic on the taxiway is marked by the yellow arrowhead in the centre of the taxiway.
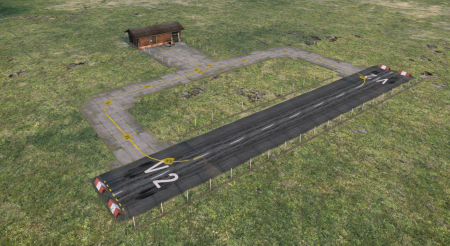
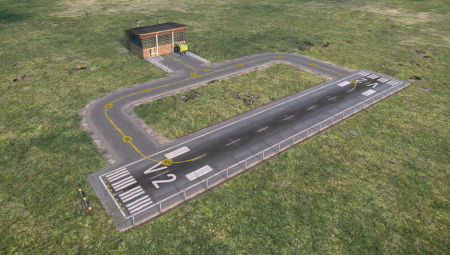
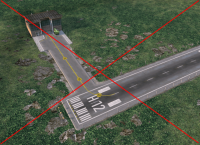
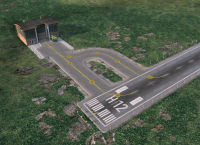
If you connect your terminal to the runway by single lane taxiway (picture on the left), it will not work. The airplanes can enter the terminal, but there is no way for the airplane to leave on one-way taxiway. You must build the exit taxiway as well (picture on the right). Choosing the direction of traffic on the taxiway is done by direction where you drag the mouse while building it, in the same way like building one-way roads.
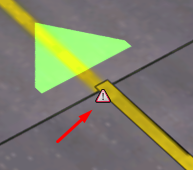
To help you remembering to build both taxiways, the game shows little triangle warning sign if there is the second direction of the taxiway missing.
Also, the taxiway can accommodate multiple airplanes. They will line up either in front of a runway while departing one-by-one, or at the last intersection before all occupied terminals in waiting for any terminal becoming available. Moreover, taxiways can cross each other, so you can build quite complex roadways within the airport.
Similarly like the runways, you cannot place a bridge over it but you can build a tunnel underneath.
The old taxiway costs 100 ![]() per square, while the modern one costs 200
per square, while the modern one costs 200 ![]() per square.
per square.
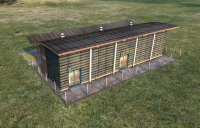
Hangar
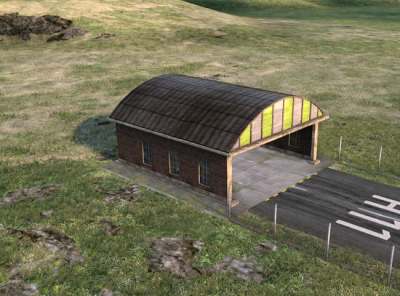
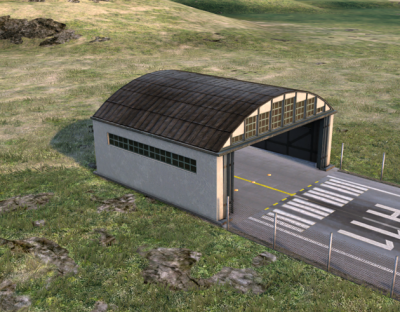
Hangar is, where you buy or sell or replace your airplanes. You have again two versions and upgrading to the modern version gives you access to more airplanes.
Hangar must be connected to the runway either directly or via taxiway (don't forget the second lane of the taxiway). You can connect the hangar to any existing airport and the hangar doesn't have to be within the 6x6 (8x8) limits, but the connecting taxiway (if you use that option) must be within the airport limits.
You might want to build a hangar in separate location, away from regular airports. The airplanes will then travel to their starting destination and then go on their regular route. Since the airplanes travel very fast, it is good option, because neither new, nor old, sent for replacement airplanes will overload your existing airport.
If you decide to use this option (of separate hangar airport), that is the only exception where you do not need a terminal at that airport. All you need is a hangar connected to a runway. Do not place this airport (nor its way-point runway) to any route list. The airplane would just endlessly circle above it and it will never land (because of the non-existing terminal). Only when you click on the "Go to depot" button, or if you send the airplane for automatic replacement, the plane will land and enter the hangar.
The old hangar costs 750 ![]() while the modern one costs 1500
while the modern one costs 1500 ![]() .
.
You can build one or multiple hangars, depending on your "Only one depot" parameter option in the Game Setting
You can see some airport examples of the airport and hints for building one on the next page.
