Signals
Game Manual
- Basics
- Game content
- Infrastructure
- Vehicles
Purpose
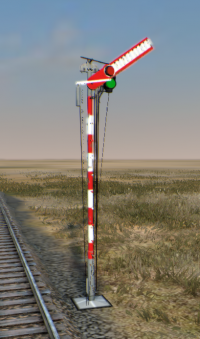
Signals prevent trains from crashing into each other while driving on the same track and it is for this reason that they are an important part of any railway system - safety first guys!
A signal divides a railway line into two sections known as blocks. If a block is occupied by a train then the signal dividing these blocks won't allow any other train to enter that occupied block until this block is cleared.
Placing of signals
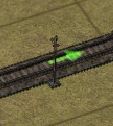
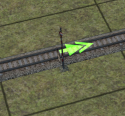
one left mouse button click = two way signal will be placed on a railway track
second left mouse button click on the same signal = two way signal will be transformed to one way signal
(side of the track we clicked on will determine the orientation of the one way signal)
Signals cannot be placed in tunnels, at stations and directly on railway intersections.
Contents
Different kinds of signals:
Block signals explained
Block signals allows access only on the blocks which are not occupied by other train. Block is the space of railway between two signals. You can see the block status with the arrows pointing towards the segments. Red arrow means that the block in the arrow direction is occupied.
Block signals basics
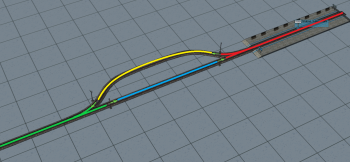
On the right picture you can see our example station situation. Each block is located between two signals / end of the track and colored with different color. Red is the station block, blue is the "entry" block, green is the rest of the track. Yellow track is for output form station. For example: One train goes from the station and the other comes from the left.
You can notice that the station block is now split into two tracks with two one-way singal. One "entrance" signal, one "exit" signal. The incomming train will from the green block, to blue block. Then the train enters the station and blocks the red block. Next incomming train will have red sign on the entrance signal, because of occupied red block. The diference between left and right example is, that the train have a space to leave by the yellow block. This is effective enough on the low load railroads. For examples of how to use the signals, go to the Junctions page
Common mistakes
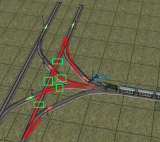
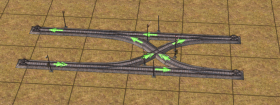
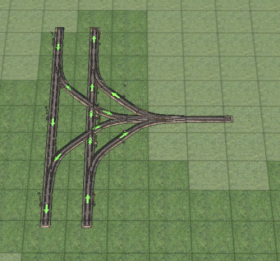
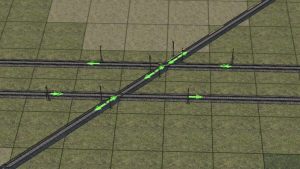
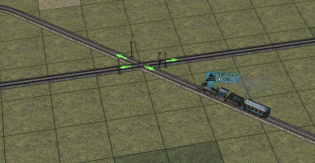
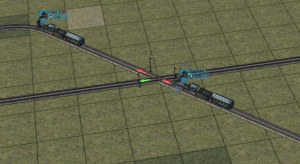
Crossings with not enough signals - the whole red area is single block and can be occupied by only one train. That will make that crossing very ineffective. For it to work better, there need to be 6 more signals (marked by green rectangles)
As practical example of the Not enough signals, train could block itself in such block. For this train to move at all, there must be more signals placed in marked rectangles.
Trains at both intersections will run correctly. They will not block the intersection and the ride will be smooth. For more examples of intersections, see Junctions page.
Correct use of bi-directional signals
To prevent trains from getting stuck nose-to-nose at bi-directional signals, they have to be placed very carefully. There are basically only two situations where they should be used:
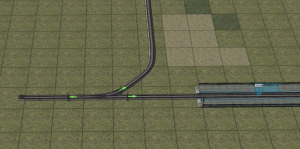
- Side line with single track and only one train going back and forth crossing the main line. Without the crossing, there wouldn't have to be any signals on such side line. But to prevent above described self-block, there must be signals on each segment. Since the track is used in both directions by one train only, these must be bi-directional signals. If there is more than one train using such sideline, bridge must be used instead of the crossing otherwise the trains would get stuck nose-to-nose at the bi-directional signal eventually.
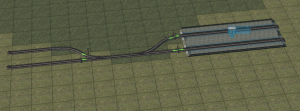
- End station with multiple platforms (no trains entering the station from the other end). If you send more trains than the number of platforms, there must be chain signal at the entry switch, where the next train will wait, if all platforms are occupied.
Chain signals explained
Definition
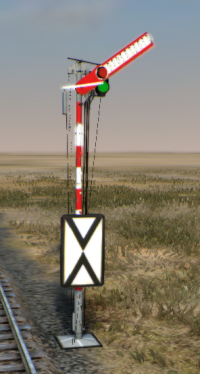
Chain signal will be green if there is at least one green signal behind it.
While it sounds complicated, it simply means that the signal will "look" down the line at the next signal (or signals if there is a switch and multiple tracks) and if it sees all red, it will be red, if it sees at least one green, it will turn green.
It should be noted that incorrectly placed chain signal where block signal should be will not cause an accident, but it will make the trains wait longer, thus the rail network will be less efficient as a whole.
Correct use
There are two main situation where chain signal should be used:
- At crossings to prevent train from blocking the crossing, if the train cannot continue beyond it. Correctly placed signals are Chain before the crossing and Block after the crossing. If the track after the crossing is empty -> the block signal is green -> the chain signal before the crossing is green. If the block after the crossing is occupied -> the block signal is red -> the chain signal before the crossing is red as well so next train won't enter the crossing thus it will not block the traffic on the other track.
- At the switch where train can choose any tracks and should wait for the first available, if all of the tracks are occupied. Most common use is at multi-platform stations (as long as the exit lines from all the platforms lead to another common destination / node / switch, so train can use any available platform), at parallel tunnels (signals cannot be placed inside the tunnel, so longer tunnel becomes a bottleneck for the rail network. That could be mitigated by building parallel tunnel in the same direction, which doubles the number of trains traveling at once) or at any other parallel tracks built to increase the throughput of the network.
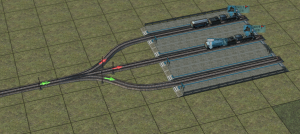
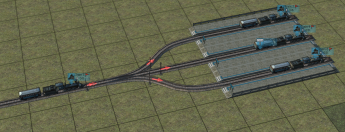
Using chain signal at switch is extremely important at the end station where there are bi-directional signals. Placing block signal there would cause the train getting stuck nose-to-nose (see the image in bi-directional signals section above)
Even quite complex crossing can be managed successfully by correctly using both chain and block signals:
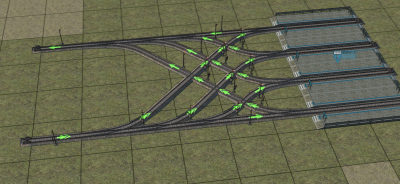
Of course, every crossing has a limit how many trains can go through before it gets overwhelmed. Crossings are good for low to moderate traffic, but for high traffic areas one way drive-through stations and interchange with bridges and tunnels should be used.
Common mistakes
- placing the chain signal at the switch where train cannot choose any track (aka each track after the switch leads to different destination). The chain signal here will be useless and will work as less efficient block signal.
- placing chain signal at the exit track of the crossing. There is absolutely no harm in doing so, but the train will needlessly wait for whole another block to be clear while it could have been moving already - it is harmless but very inefficient use of the chain signals.
